Some deliveries may take a little longer than usual due to regional shipping conditions.

Descargar la aplicación


Servicios al cliente
Sobre nosotros
Copyright © 2025 Desertcart Holdings Limited
Descargar la aplicación
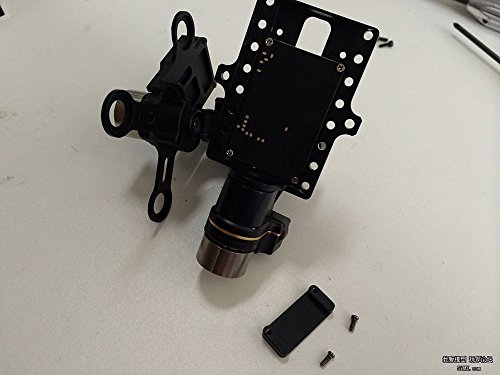
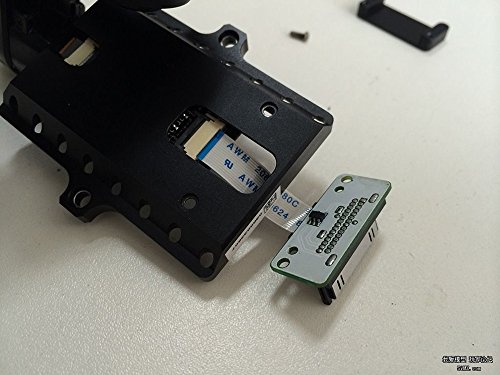
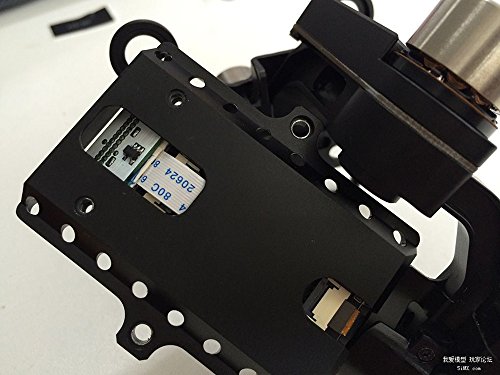
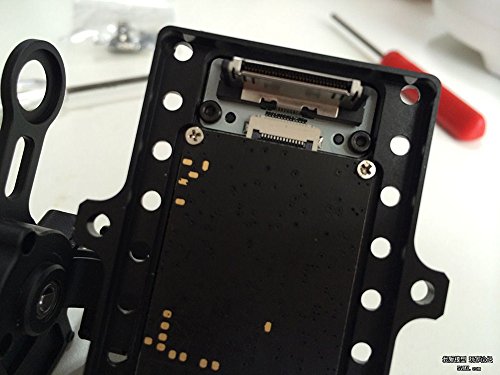
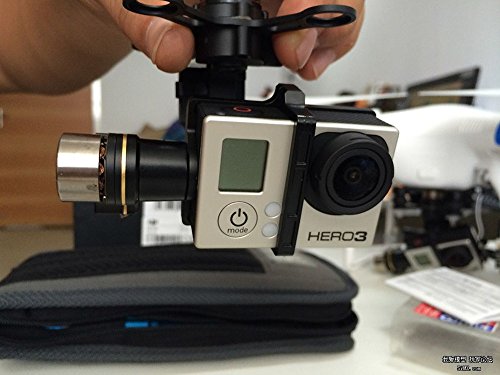
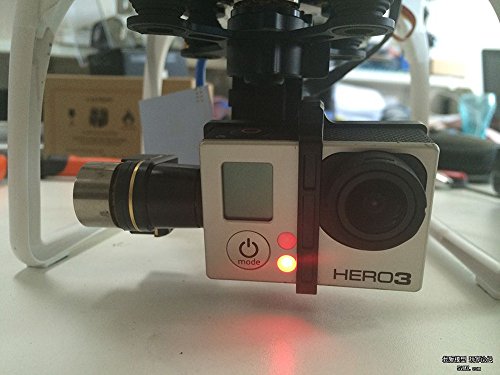
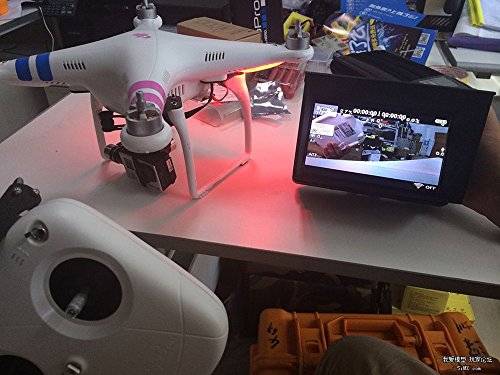
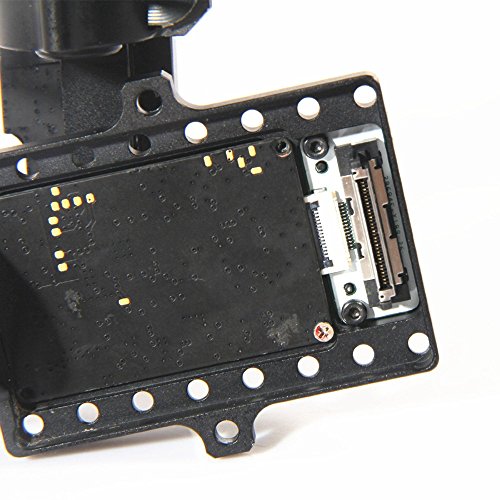
Instructions for installation for Zenmuse FPV Upgrade Back-insert AV Output Connector: 1. If you have not already done so unplug the original USB interface and remove your GoPro camera. (It is not necessary to remove the whole Zenmuse but is easier if you do) 2. Remove the two screws on the back, to remove the cover plate bracket. This is where your Upgrade Back-insert AV Output Connector will go later. 3 Remove the tape covering the back to gain access to the cable connector on the circuit board. The original cable is held in place by a hinged clamp. Carefully lift back the black portion of the connector to release the the original FPV cable and USB interface. 4. Carefully insert the upgrade FPV cable into the cable connector on the circuit board. Carefully close the black clamp on the circuit board, making sure the cable is all the way seated into the connector. 5. Insert the upgrade FPV circuit board onto the two studs aligning the two holes for screws. Your GoPro will attach here later. Fold the FPV cable up and tuck into the back. 6. Place the sticker back on the back of the Zenmuse to prevent dust and impurities 7. Install the cover plate bracket (the one you removed earlier) on the reverse side. Install two screws thru the circuit board with the cover plate bracket on the back of the Zenmuse. Pay attention to the direction of the cover plate bracket, keep the wide edge toward the center or it will influence the balance of the Zenmuse. 8. Installation is now complete, install the GoPro and holding bracket. Install the Zenmuse if removed on the Phantom 2, test the charging function and AV transmission function. If you needed more details pls feel free to contact us,we could send you the step by step photo's for installation of the Upgrade Back-insert AV output connector.
Trustpilot
Hace 1 mes
Hace 1 mes