Description
⚙️ Upgrade your airflow game with precision power and seamless fit!
- TRUSTED RELIABILITY - Backed by a 1-year manufacturer warranty to keep your air system running flawlessly.
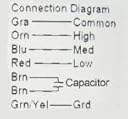
- EASY OEM REPLACEMENT - Direct fit for Venmar models with simple lead splicing—upgrade without hassle.
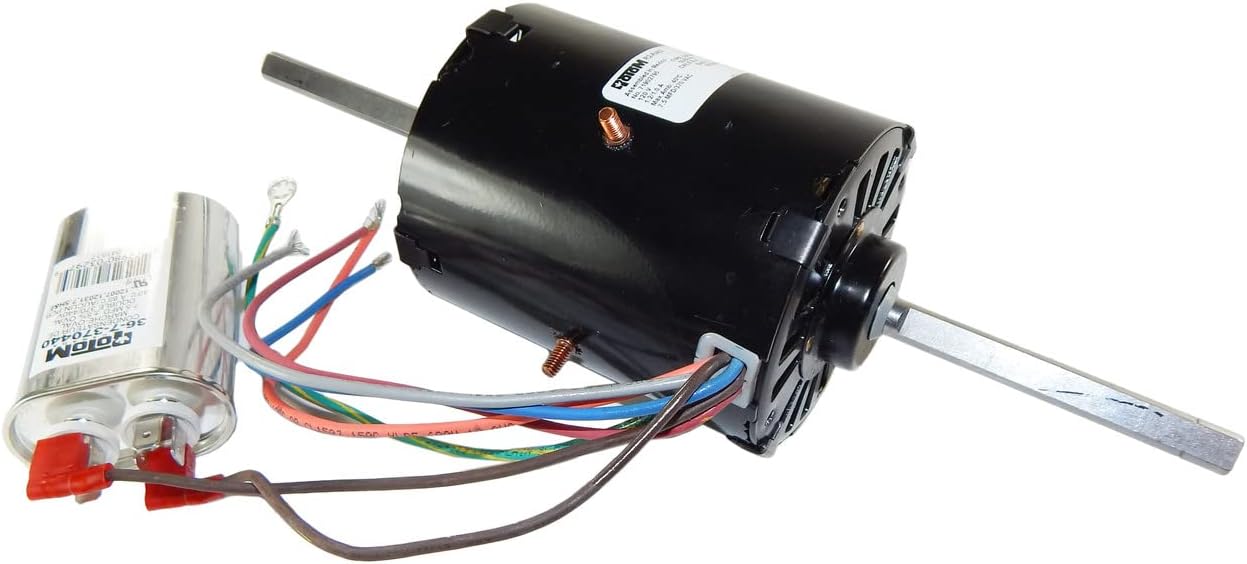
- COMPACT DURABLE DESIGN - Alloy steel build with double shaft and sleeve bearings for long-lasting performance.
- PRECISION POWER DELIVERY - 1/17 hp motor ensures efficient, reliable airflow for your HVAC system.
- SMOOTH VERSATILE OPERATION - 1650 RPM with 3-speed settings adapts perfectly to your ventilation needs.
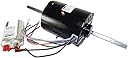
The Venmar Make Up Air Motor 02101 by Rotom is a compact, 1/17 hp, 1650 RPM, 3-speed electric motor designed as a direct OEM replacement for Venmar ventilation systems. Featuring a durable alloy steel construction, double shaft design, and sleeve bearings, it delivers reliable, efficient airflow. Operating at 115 volts and requiring a 7.5 MFD capacitor (not included), this motor offers easy installation with lead splicing and comes with a 1-year manufacturer warranty, making it a trusted choice for HVAC professionals and DIY enthusiasts alike.