

🎮 Small Case, Big Game: Power Meets Portability in the S300
The KXRORS S300 is a premium Mini-ITX gaming case crafted from aluminum and steel, designed for professionals who demand high performance in a compact form. It supports up to 305mm GPUs with a PCIe 3.0 16X riser cable, features three-sided mesh panels for superior airflow, and includes a front USB 3.0 Type-C port for cutting-edge connectivity. With support for SFX/SFX-L power supplies and a smart cable management system topped with a leather handle, the S300 blends portability, style, and thermal efficiency into one sleek package.


| ASIN | B0BG22FT8R |
| Antenna Location | Gaming |
| Best Sellers Rank | #594,314 in Electronics ( See Top 100 in Electronics ) #1,047 in Computer Cases |
| Brand | KXRORS |
| Brand Name | KXRORS |
| Case Type | Mini-Tower |
| Colour | White |
| Compatible Devices | [INF] Mini ITX motherboards, Gaming devices |
| Cooling Method | Air |
| Country of Origin | USA |
| Customer Reviews | 4.4 out of 5 stars 113 Reviews |
| Enclosure Material | Aluminium |
| Fan Size | 60 Millimetres |
| Hard Disk Form Factor | 3.5 Inches |
| Internal Bays Quantity | 1 |
| Item Dimensions D x W x H | 13.5D x 31.2W x 19.3H Centimeters |
| Item Height | 19.3 Centimeters |
| Item Weight | 2 Kilograms |
| Light Color | Blue,Purple |
| Manufacturer | KXRORS |
| Material | Aluminium |
| Model Name | S300 |
| Motherboard Compatibility | Mini ITX |
| Other Special Features of the Product | Kompaktes Mini-ITX Formfaktor, Unterstützung von SFX-Netzteilen, vertikale GPU-Montage mit PCIe 3.0 16X Riser Kabel |
| Power Supply Maximum Output | 500 Watts |
| Power Supply Mounting Type | External Hard Drive |
| Recommended Uses For Product | Gaming |
| Supported Motherboard | Mini ITX |
| Total USB 2.0 Ports | 1 |
| Total USB 3.0 Ports | 1 |
| Total USB Ports | 2 |
C**R
Ótima qualidade.
Tudo nos conformes! Ótimo case.
K**N
Compact, Good Design and Easy Setup
I like the case. It looks good and fits my bag well. Cable management is straightforward since the motherboard is mounted upside down and the airflow is logically designed. Adding a 12015 fan at the bottom is recommended to improve the thermal environment.
M**T
A cute and modern minimalist case!
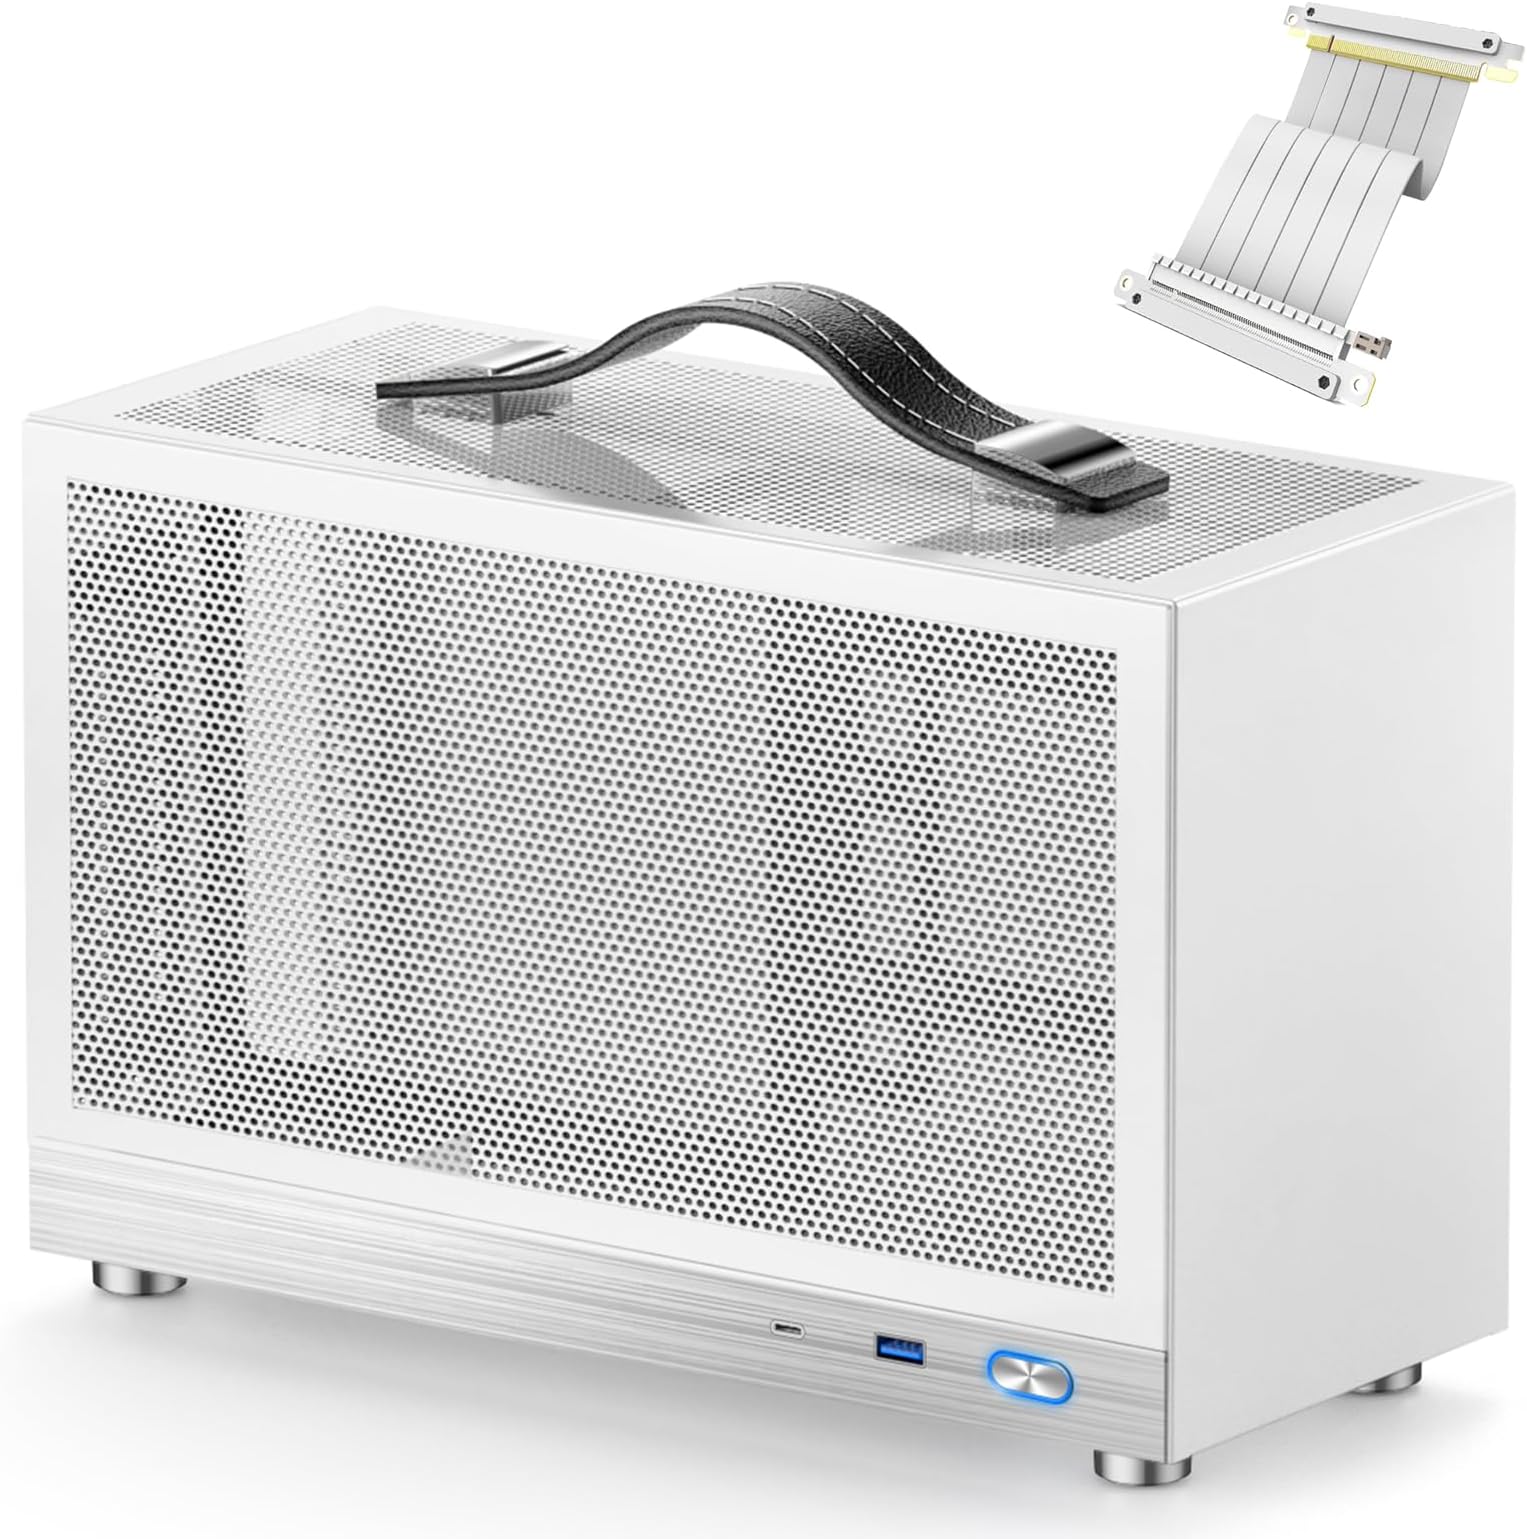
With size comes compromise, so if you’re looking to build a cutting-edge behemoth, look elsewhere... But what I needed was a modest quiet ‘living room-friendly’ gaming PC and this little fella fits the bill so well. There are challenges with such a small design, but with a little planning, they can be overcome. Mostly think about the power supply, if it's in budget, get a modular design (unlike me!) so you can route only the cables you need. Also take int account its size, I went with a BeQuiet3 which is small, but well-made made and even though it's only 350w, has enough juice to run the RTX5060 and Ryzen 5600. I ended up removing the front USB-C port entirely (my motherboard doesn’t support it) to make one less cable and provide room for a second exhaust fan. Temps are fine, there is a lot of ventilation on the sides and top, and I’m having fun playing more modern games again. I can definitely see why you wouldn’t buy this case and move up to something larger, but I love this little thing because it is small. The only bit I don’t really like is the ‘back’ of the computer, where all the wires plug in, is actually the side and on display in normal orientation, something that photos and videos of this case happily forget to show. So, I guess I need to buy an aesthetically pleasing power cable now, right?
A**N
A 8.1L beast with a handle that handles temperature well
Awesome case, temperature was good, much cooler than my Fractal Ridge for some reason - despite its much noticeably smaller size (8.1L vs ~11L). Assembly was a bliss, no bullshit over-engineering but convenience in mind (I am talking about its construction, the placement of screws, motherboard orientation and front panel cable length). While a 120x10-15mm tall fan for bottom intake is suggested according to the manual, I could slot a 25mm tall 120mm fan underneath the motherboard just fine. Loosen the fan screws a bit if it makes noise, mine is then running almost silently. More work can be done with the language in the manual but it is a negligible point as it is overall intelligible. It come with all the screws you need for it as well as a dust filter and a few cable management tools, though really not much. I did not use them. 5700X3D ASUS Dual OC 4070 Thermalright AXP 90x53 Full copper Thermalright 120x25mm case fan at the bottom
O**M
Fantastic case! ONLY issue was rewiring front-panel IO connector, but still worth.
So let me start off by saying this is a fantastic case! There's just enough room to snugly fit a full-size 2.5 slot modern GPU in it. I loaded a PNY RTX 3090 24Gb in it, which is like 295mm in length, and I can only describe the size of the case as though it was a "storage box" for the GPU. The fit is absolutely golden. The build went fine, Mini-ITX motherboard mounted just fine, SFX PSU is a little snug but the bracket it mounts to is removable so you can easily screw it in - it even has 6 screw holes if you want to fully secure it. I will say, with the particular SFX PSU I used, the cable management was a little rough, but it worked out in the end. Also the case does not come with fans, so I had to buy a Noctua 120x120x15mm fan. As for the CPU cooler, Noctua's NH-L9a-AM4 is no slouch. It fits with plenty of room, looks great in the case, and the metal emblem that it comes with for the front of the case JUST fits the metal trim at the bottom near the power button. Now for my one and only issue.. The front IO is a 8+1 pin connector meant to slide onto the motherboard front-panel IO header, but they pinned it incorrectly on my case. Note that the documentation is clear which pins it SHOULD be, it almost sounds like it uses normal front IO connectors as a result, but it has this connector (see images) which is pinned wrong. To fix this, I pushed the cables into the connector a bit, slid the tip of a knife in, and one-by-one removed the two power switch connectors and ran them to the right spots. Because this took me a lot of time to confirm which pins were which, and there's not a lot of documentation on it, I marked them in one of my images. For me, the pins were in a 2x2 square at the top, whereas they need to be in an inline 4x1 arrangement (on the side with only 4 holes, not 5). I tried to make it clear in my poorly mouse-dawn diagram, but you need to remove the two wires from the side with 5 holes, then put them on the lower two holes of the side with 4 holes. Once you do that, it boots fine, the LED for the button works, and the case is worth the time and money. Finally, I bought one more because I fear it'll go out of stock before my next PC build, so I wanted to ensure I had one just in case. Good cases are hard to come by sometimes and this one is one of the best SFF mITX cases I've seen. It may take a bit more work than a normal build, but it is absolutely worth it.
Trustpilot
1 week ago
1 week ago