
DOWNLOAD THE APP


Customer Services
Copyright © 2025 Desertcart Holdings Limited
DOWNLOAD THE APP
💅 Elevate your mani game—because your nails deserve the spotlight!
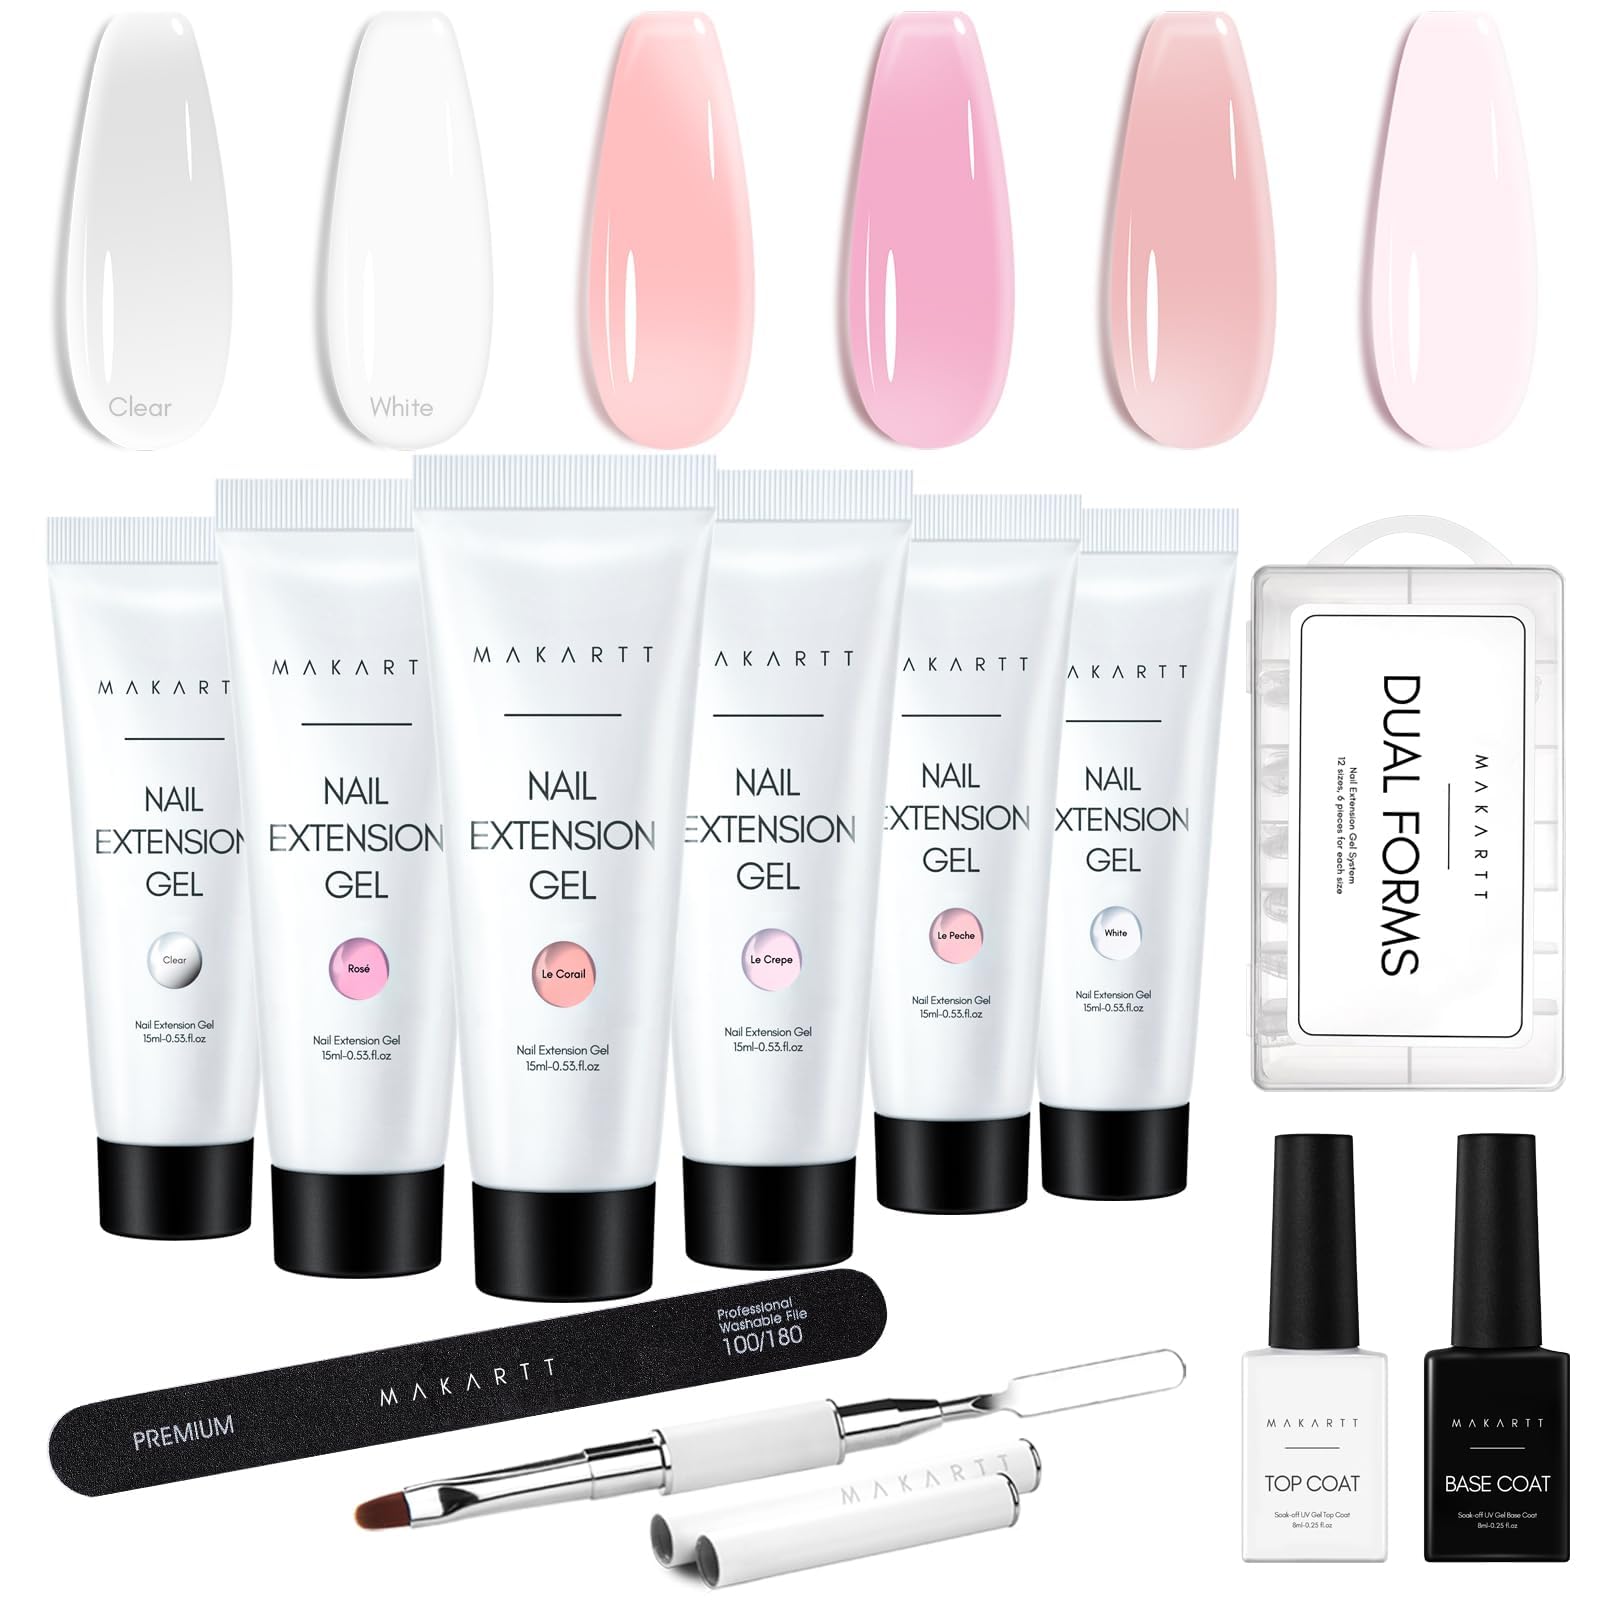
Makartt Poly Nail Gel Kit offers 6 professional-grade builder gels in clear, pink, and white shades designed for long-lasting, salon-quality nail extensions. Featuring durable hard gel and dual forms, this all-in-one kit empowers both beginners and pros to create flawless, customizable nail shapes and styles at home, with wear lasting over a month when properly prepped.


| ASIN | B076B9CBVZ |
| Best Sellers Rank | #17,596 in Beauty & Personal Care ( See Top 100 in Beauty & Personal Care ) #24 in False Nail Gels |
| Customer Reviews | 4.2 4.2 out of 5 stars (13,022) |
| Is Discontinued By Manufacturer | No |
| Language | German |
| Manufacturer | Makartt |
| Product Dimensions | 7.87 x 6.69 x 1.57 inches; 12.31 ounces |
| UPC | 799443864637 |
J**S
MUST HAVE!
Literally the best thing since sliced bread. I used to go get my nails done every three weeks. Now I can have a salon quality mani in my own home for a complete fraction of the cost. I love the color variety this brand has to offer. Easy for beginners to use. The small bottles have a decent amount, but depending on how thick you put it on or how long your nails are, if you are new to this, it might take a little more product. Great quality, and this is how I will do my nails for the rest of my life. Not even exaggerating. I love bragging about the product and process to my friends since I get compliments non-stop. Plus, as a teacher whose hands are mainly looked at, it's nice to have a nice mani done!
E**N
Great it for beginners!
*cracks knuckles* buckle up for an unnecessarily long but hopefully very thorough & helpful review. 1. This kit doesn't include absolutely everything you need in order to due your nails. Separately, you'll need to buy: a uv/led lamp & a slip solution. For the uv/led lamp, there’s many great options on here which is where I got mine. As for the slip solution, you can buy them online or you can just use rubbing alcohol like I do (it works the exact same & most people already have this in their house). 2. There’s definitely a learning curve, don’t be disappointed or upset if your first set isn’t perfect! I got this kit at the beginning of February (about 6 months ago) and I still have a LONGGG way to go. 3. Definitely try out the dual forms that are included in the kit, but if those don’t work out for you then try paper forms or tips. The dual forms are amazing for getting a super smooth top, however I had a lot of trouble with them when it came to polygel oozing our near my cuticles or at the tip of my finger. The dual forms while making the tops of my nails extremely smooth and glossy, made the undersides of my nails sooo thick & bumpy (even if I would smooth them out before curing). I’ve learned that I can somewhat use the dual forms to create ‘tips’ by putting the tiniest/thinnest amount of polygel in the forms, curing it, and then applying more polygel on top like you would with the other 2 methods. Paper forms are great for getting a super smooth underside but you made get a bumpier top of the nail. While having the top of my nails be bumpy is still annoying, I very much prefer it compared to a bumpy underside because with my drill I can fix them no problem. Basically it’s easier for me to file the top of my nails as opposed to the underside of them. Plastic tips and glue are probably the easiest option when it comes to actually putting on the polygel, however I just haven’t gotten around to buying any yet. With tips, they’re similar to paper forms because you’ll get the very smooth bottom but possibly a bumpy top. With tips you can already have set shapes which makes them that much easier because with dual or paper forms, you often have to create the shapes yourself. No matter what option you choose, they all have different pros and cons. Definitely try out and utilize the dual forms that come with this kit, but if they’re really hard for you (Like they were for me) then don’t be afraid to try paper forms or plastic tips. Don’t be afraid to experiment or even combine different options to find what works best for you. 4. For me, it's much easier to just squeeze out and apply the polygel directly where I want it, instead of squeezing the polygel out onto the brush/spatula and then applying it to where I want. I find that because polygel is so sticky, the less surfaces it comes in contact with, the easier it is to spread and work with. 5. Other items that you don’t need but make it a lot easier & more convenient to do your nails include: a nail drill/e file, lint free wipes, more nail files, cuticle pusher/trimmer, primer, and dehydrator. Having a dish for the slip solution & paper towels under your hands to collect dust or to the side to wipe your brush on are very helpful. Buying items not included in the kit is unnecessary but definitely worth it! For example, the drill/e file is a game changer. I got one off of here for like $20 from melodysusie (I think?). You definitely don’t need it (the file you get in this kit will work just fine until it wears down) but it makes a huge difference when shaping the nails & getting the bumps out on top of or underneath the nails. Not only will drill help to make your nails look even greater, but it'll also make the process of doing your nails so much easier and faster. Other unnecessary items (more for fun design elements) that you may want to purchase in the future include: rhinestones, fine & chunky glitters, holo powders, & gel polishes. Again all of these things are unnecessary and don't really have anything to do with this kit, but I think this might be nice advice for beginners to have. 6. 'Natural Pink' is BY FAR my favorite color in this kit (it's the shade of all of my sets in the pictures and video). It's the perfect nude color for me, someone who has pretty fair skin. I loved it so much that I used up the whole tube from this kit and ended up buying the large tube of it. I think that all of these colors would look beautiful with any skin tones! The 'Clear' and 'Misty Rose' are great if you want to . have jelly nails. The 'Clear' is also amazing to cap any designs, glitters, etc. If you have gel polishes (once again not necessary) you can even mix them into the polygels to make custom colors or just apply the gel polishes on top of your already cured polygel nails. I hope this was somewhat helpful to people who are interested in this kit. Like I said, there's definitely a learning curve but it's so fun doing your nails and very rewarding to see yourself grow and get better at doing them!
A**Y
Game changer! I love it!
This is a total life changer, ladies! I got tired of acrylic... it takes forever to file manually and it smells! Polygel has no smell... but my favorite part is when you pop off the dual form and its perfectly shaped with a flawless shine! All you have to do is shape the edges. The Makarrtt band is nice... my only complaint is that the gel is not deeply pigmented. I used the dark pink and it's still light in color and somewhat translucent. The other colors are so light they are almost clear.. and the kit doesn't come with the slip solution.... thats my only complaint and why I'm giving 4 stars... but I used rubbing alcohol for a slip solution, which worked just fine. I REALLY hope this brand will sell individual tubes of all the colors! I would love to see mauves, nudes, and browns! Here's a few tips I have: 1: Watch YouTube tutorials! It will help a lot! 2: Take the extra time to fully prep your nails! Trim cuticles, trim, file, and clean under your nails. Remove the shine by lightly buffing the nail surface with a file. Clean with rubbing alcohol and then use a nail dehydrator solution to remove oils. The better you prep, the better chance you'll have of preventing lifting and making your new polygel last a long time! 3: After you cure the base coat in your LED/UV nail lamp (or any gel polish and polygel), there will be a sticky layer. This might confuse you thinking that the gel is still wet or hasn't cured. You have to remove that with rubbing alcohol on a cotton ball or swab. This will also reveal the shine! And don't forget the underside! 4: Put enough gel in the form to create thickness and strength. The thickness should be about the same as when you get acrylics done at the salon. The thinner your polygel layer, the weaker they'll be. But also, don't go TOO thick because your nail LED/UV light won't cure it all the way through. 5: after I place my dual form on my nail, I carefully form the underside just a bit because the gel moves after you put it on. Use a light hand because the nail form can move around easily. 6: DON'T press the dual form too much onto your nail! Product will squeeze out of the side and things will get messy! Use light pressure, just enough to know that the gel has fully made contact with your natural nail! Do not put the form directly against the cuticles! There should be a tiny space in between. 7: Have fun with it and be creative! Polygel is unique and there are so many cute ideas on Pintrest! If this is completely new for you, expect this to take several hours! My nails in my pics was the very first time I did polygel! I spent almost all day doing them but that's because I took a lot of breaks and mom life lol... doing my kids online schooling.. cooking.. cleaning... but I think it would've taken probably 2 hours straight without interruption. Anyway, in my opinion, polygel is KING... and acrylic is the peasant. They're just as strong but so much prettier and easier to do than acrylic!
B**O
Good but small
The product is good, the gel is easy to work with and the colors are very pretty, but the bottles are quite small.
S**A
Em poucos minutos, realizei está unha. Gel fácil de moldar e de limar. O acabado não é super perfeito, mas serve. Quanto à resistência só o tempo o dirá.
M**A
Der Versand war schnell.. gestern kam das Set an und am Abend hab ich es bereits ausprobiert. Anfangs war ich skeptisch aber es hat von vornherein gut geklappt! Die Qualität des Gels ist super und auch der Base- & Topcoat haben mich überzeugt. Die Oberfläche der Nägel ist gerade.. die Ränder relativ sauber und der Topcoat glänzt schön.. bei anderen Produkten hatte ich bereits das Problem, dass die Schichten sich nicht richtig ausgehärtet haben oder ich meine Hand teilweise länger als 5 Min. unter die LED-Lampe halten musste.. hier aber ging alles schnell.. Schicht(en) aufgetragen, 2 Min. unter die Lampe und die Sache war erledigt... Also Daumen hoch für die Qualität! Auch das Material wie der Pinsel, Cleaner, ... sind top! Mit diesem Set schauen meine Nägel zum ersten Mal ohne viel Aufwand wie aus dem Studio aus... ☺️ Bin begeistert..
S**E
Really hard to work with at first but once you get the hang of it super easy! I received my set on the 20th feb i done a set straight away, they were a bit scruffy and lasted a few days then i took them off (bit them off 😂 gross i know definitely not recommend) anyway i done another set (vid) a little longer in length and i thought they were going to snap immediately but nope still going strong and look great. So far lasted around a week so far. Happy✌🏼🙃 Also.. Make sure the brush is wet but not dripping with the slip solution i just have a little cotton pad to dab it on.. And when applying the form to your nail don't press down too hard as the product bulges out, if it does just clean it with the brush and solution (before curing) or file or use a drill 🤷🏽♀️ Whatever x
N**R
The best poly gel i ever used Better than the original first poly gel ) gelish )
C**N
Ho messo foto del prima e dopo, la differenza è abissale. Ottimo prodotto ma credevo fosse più facile da utilizzare, non sono un esperta e ci ho messo circa 4 ore per terminare il lavoro.
Trustpilot
1 day ago
1 month ago