Buy anything from 5,000+ international stores. One checkout price. No surprise fees. Join 2M+ shoppers on Desertcart.
Desertcart purchases this item on your behalf and handles shipping, customs, and support to Mexico.
🪟 Cut, snap, and upgrade your view—DIY window screens made sleek and simple!
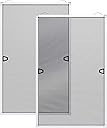
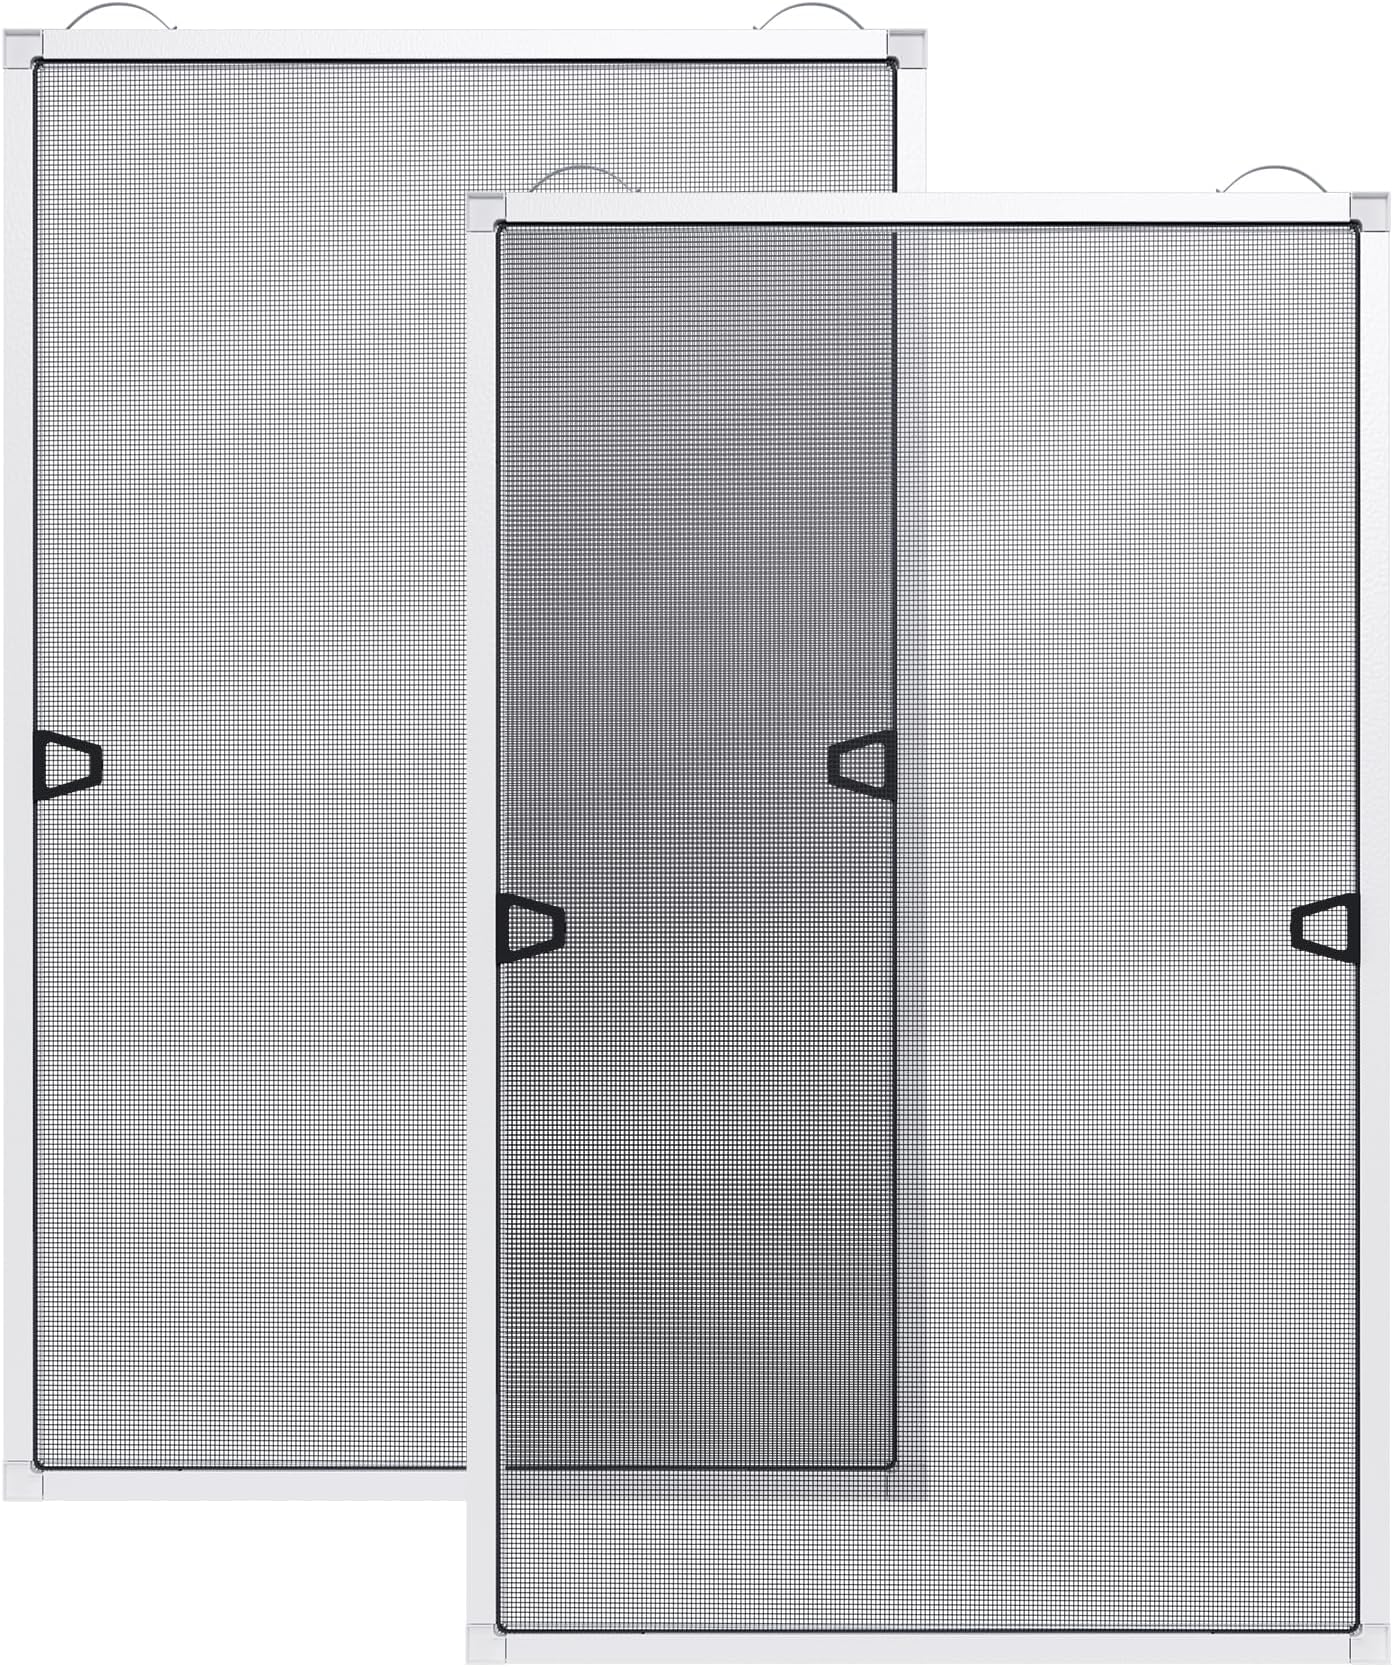
The Paramondo 2 Sets DIY Window Screen Frame Kit offers a complete, easy-to-use solution for custom window screen replacement. Featuring rust-proof aluminum frames, large fiberglass mesh, and all necessary tools, it allows precise cut-to-size assembly without drilling. Perfect for any standard or unique window up to 46"x46", this kit delivers durable, professional-quality screens that enhance home comfort and style.


| ASIN | B0FX2976CZ |
| Batteries Included? | No |
| Batteries Required? | No |
| Best Sellers Rank | #27,784 in Tools & Home Improvement ( See Top 100 in Tools & Home Improvement ) #37 in Window Screens |
| Color | White - 46" Lx 46"W |
| Customer Reviews | 4.2 4.2 out of 5 stars (10) |
| Date First Available | October 20, 2025 |
| Included Components | 1 xScreen Mesh, 2 x Spline, 4 x Tension Spring 4 x Pull Tab 1 x Spline Tool 1 x Knife, 8 x Conner Insert, 8 xAluminum Frame Pieces |
| Item Package Quantity | 1 |
| Item Weight | 3.24 pounds |
| Item model number | 41053746 |
| Manufacturer | paramondo |
| Product Dimensions | 46 x 46 x 1 inches |
F**E
Fantastic.
It does take a bit of work but, it does give you all the tools needed. Much cheaper than buying pre-made.
T**Y
Really great product!
These were actually REALLLY easy to create. Worked beautifully. OK
M**T
Clawed helpers proved mesh is claw-resistant. Great kit and mesh. Take your time.
I got this screen frame kit in white because I have multiple screens throughout the house that need to be rescreened. I think the value for what you get is great and liked the idea that the mesh was claw-resistant. What did that mean? I wasn't quite sure yet, but learned... My kit came with 2 full sets of 46" x 46" frame ready for assembly or ready to be cut to size before assembly, 1 roll of mesh screen and 2 bundles of spline with ample material to complete the 2 screens, a spline roller with plastic wheels (that worked, but halfway through the project I upgraded to a new metal one), a blade to cut the excess screen once you are finished, and all of the aluminum frame/corner connectors/etc. Everything necessary to complete the 2 screens was included. The instructions are good, but I did watch a few additional videos online to see different approaches. I highly recommend that. Actually seeing the way others do it and hearing a few tips helped. It looked reasonably easy, so I got started. Because this said claw resistant and came in a single piece large enough, I opted to replace our slider screen first and use the material that came with this kit to do so. The screen was about 15 years old and had 2 places at the bottom where it was about ready to become a cat and dog door rather than a screen. I can confirm, as you see in the pics/ video, that this is resistant to claws. I had two clawed helpers, one that decided to jump from the top of our hutch onto the screen while I was working on it. The other chose to sit in the box that everything came in much of the time, occasionally chasing and biting the loose end of the spline as I worked with it. I can happily report back that the mesh material is intact and untorn--not even snagged. I am hoping it remains that way for years to come. CAUTION! While this may be claw-resistant, it is not spline roller- or me-proof! Nor would it really be claw-proof (just resistant), I would imagine, if my clawed friends were determined. It did take a little effort to press the spline in to the groove that it pushes into so that it holds the mesh taught. When you are pressing the spline into the groove, be very sure your spline roller is only touching the spline and not the screen material. When I first started, I got carried away (pressing too hard and not on the spline only) and actually ended up cutting a few sections of the screen with the roller (!). I pulled out the spline, repositioned the screen material so that the cut would be outside of the finished screen area, and began again. I would have been sick to my stomach if this happened at the end of my project rather than the very beginning. I found that pressing the spline bit by bit in sections--ONLY the spline!--and then rolling the roller over top of that section to seat it completely worked best for me. Take your time and just be careful. I am getting more material for the additional screens I need to make that don't get as much use as our screen door. Once those are complete, I will report back on the frames and those components. I am incredibly happy with the kit, but especially happy with the mesh material. I would never recommend having cats assist with the making of a screen or a new mesh installation but they apparently wanted to assist, and have you ever tried to stop the cat? This mesh survived, despite their efforts, beautifully. I would buy this again and will get more mesh from them if they sell it separately.
A**R
Better for smaller windows. So-so construction.
Not really made for longer windows - you have to take extra care that they don't bow/bend in the middle - just a little tension when inserting the spline can cause this to happen. Not overly durable, but in theory is a good idea.
A**R
Not useful.
Frame material is flimsy garbage and can not be assembled without excessive warping. Unusable.
R**E
Cheaper than custom made screens
I needed to replace two screens for my older windows, and getting custom ones made was going to be surprisingly expensive. This Paramondo DIY Kit was the perfect alternative. For the price of one custom screen, I got two full sets, and the result looks professional. Pros: Truly Custom Sizing: The aluminum frames are easy to cut down. I used a simple hacksaw to get the exact 46" x 46" (and smaller) dimensions I needed. Complete Kit: It really does come with everything—the mesh, the frame pieces, the corner connectors, and the spline tool. You don't need to make extra trips to the hardware store except for a saw and a tape measure. Professional Look: The white finish is clean and matches standard vinyl window frames perfectly. Once installed, you can’t tell they were a DIY project. Sturdy Mesh: The screen material feels durable and isn't prone to tearing easily while you're stretching it over the frame. Cons: Patience Required: This is not a 5-minute job. You need to measure twice and cut once. Rolling the spline (the rubber cord) into the groove takes a little bit of muscle and steady hands to avoid wrinkles in the mesh. Instruction Clarity: The instructions are okay, but I’d recommend watching a quick YouTube video on "how to use a spline tool" before you start—it’ll save you a lot of frustration! Installation Tip: When you’re rolling the screen into the frame, don't pull it too tight, or the tension might bow the aluminum sides inward. Just keep it flat and let the spline tool do the work. Bottom Line: If you’re even slightly handy, this kit is a no-brainer. It’s a high-quality, cost-effective way to get your windows back in shape before bug season. Highly recommended!
K**N
A simple and durable window screen frame kit.
This kit comes with almost everything you need to build 2 screen frames for windows up to 46 inches wide by 46 inches long. You will need a hacksaw and a measuring tape. The aluminum frame pieces feel sturdy, and they didn’t flex or bend during assembly. If you have the old screen frame, just copy the dimensions from that. If you don’t have the old screen frame, then you need to measure the width and height of your screen channel and cut accordingly. It’s a very simple job once you’re confident the measurements are correct, and the instructions included in the kit are detailed enough to guide you through it. The finished screens fit well once the frame pieces are cut to the correct size. The screen itself is fairly thick and was easy to install with the included roller tool. This kit will restore the functionality of most windows, and it’s more cost effective than replacing the entire window.
Trustpilot
3 days ago
4 days ago